I’m posting this recipe for my mother because she called me this week asking about making bone broth. You can imagine my excitement!
She had called me to tell me that her copy of “From Scratch” (my favorite cookbook ever) had just arrived in the mail, and it talked about bone broth, and she wanted to make some! She said, “Can you tell some of your farmer friends that I’d like some bones?” Little did she know that when we moved to California—leaving her with our deep freezer and everything in it—I had left her a knuckle bone and chicken feet, as well! (And a kidney, which I’m still not sure if she’ll eat. Haha.)
“Mom!” I said, “There’s actually a knuckle bone in your freezer!” :D
So exciting!
So here is the recipe for bone broth: for my mother, and anyone else who wants to learn to make broth. :)
How to Make Beef Bone Broth
Step 1:
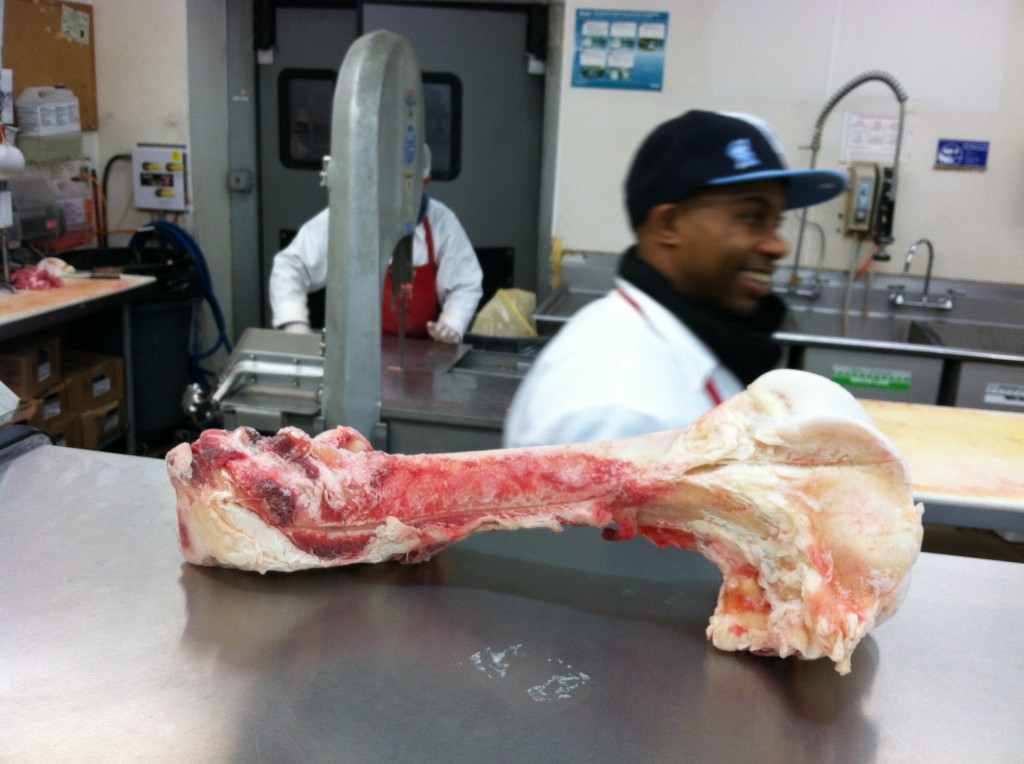
Get a grass fed bone. Or about 5 lbs. of bones, which looks about like this. Isn’t this cool?! (Buy grassfed meat products here.)
You can get bones from a local butcher, and they’ll even cut them into pieces for you. Or you can call a local grass fed beef farmer and request bones from them at really great prices. Bones will cost anywhere between $0-$3/lb. In my experience, even $3/lb. is really cheap for making broth, if you consider the cost of store-bought broth. Store-bought broth doesn’t even come close to homemade, since is more closely resembles water with added flavoring than actual broth, and it has a LOT less nutrients!
Here’s the math:
5 lbs. of bones at $3/lb. costs $15.
$15 for bones + the cost of veggies… let’s say $5 more….is $20
For $20, you can make AT LEAST 3 gallons of broth, if not more, which comes to $1.67 a quart.
If a homemade quart costs AT MOST $1.67, and a quart of broth from the store costs $4, THAT’S A SAVINGS OF $28 for three gallons of broth!!!
AND that’s calculated at the HIGHEST cost I’ve ever paid for bones with the LOWEST amount of liquid return on broth. If you get the bones cheaper AND make more broth, you’re saving OVER $30 by making your broth at home!!
AND it’s nutrient-dense, AND you can’t beat the taste of homemade broth. You just can’t. Don’t even try.
Anyway.
Step 2:
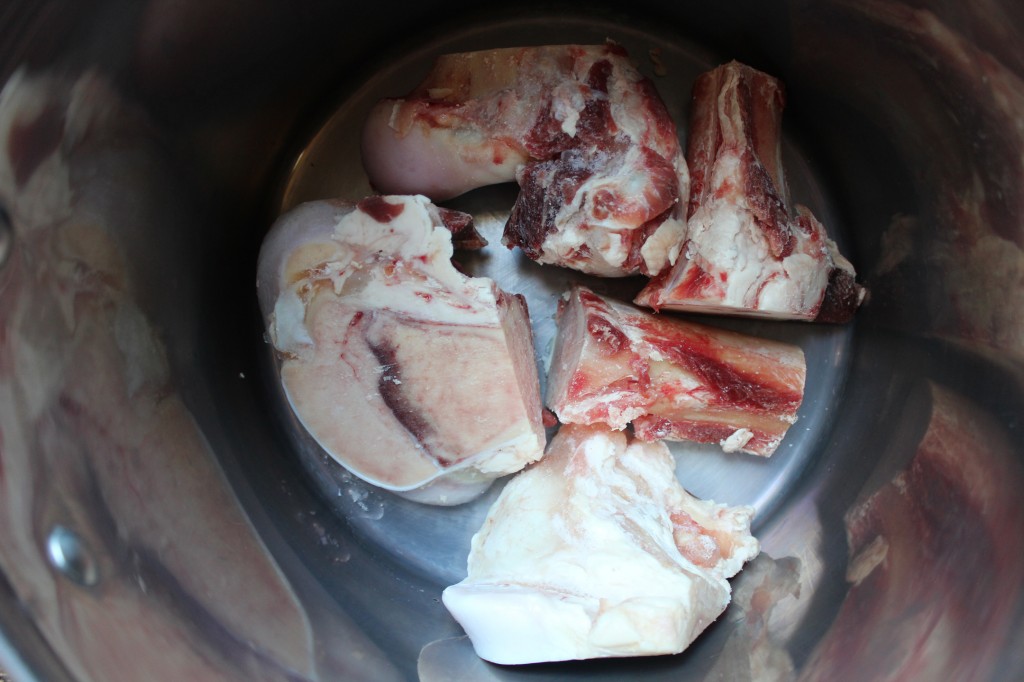
If you have any meaty bones, roast them in the oven until they turn brown. Otherwise, place the bones in a large pot of filtered water), along with 2-3 TBSP of apple cider vinegar. I use about 1.5 gallons or until the water covers the bones, leaving at least 2 inches of margin from the top of the pot. Let the bones sit for an hour.
Step 3:
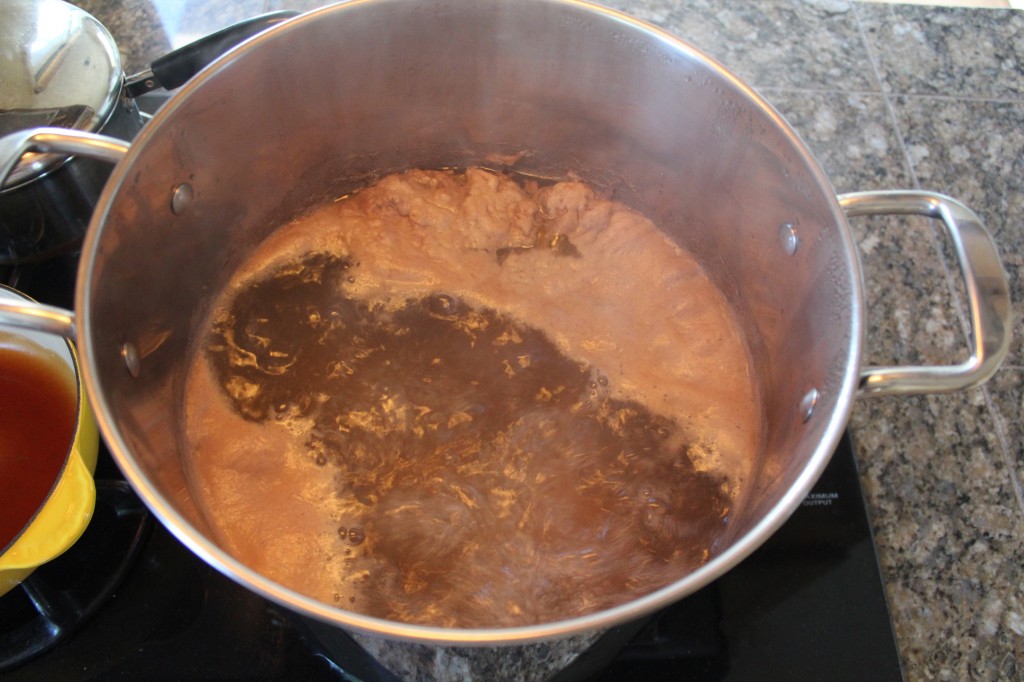
After an hour, bring the water to a rolling boil. As the water boils, a foamy scum will begin to float on the top of the water. Skim this off with a spoon.
Step 4:
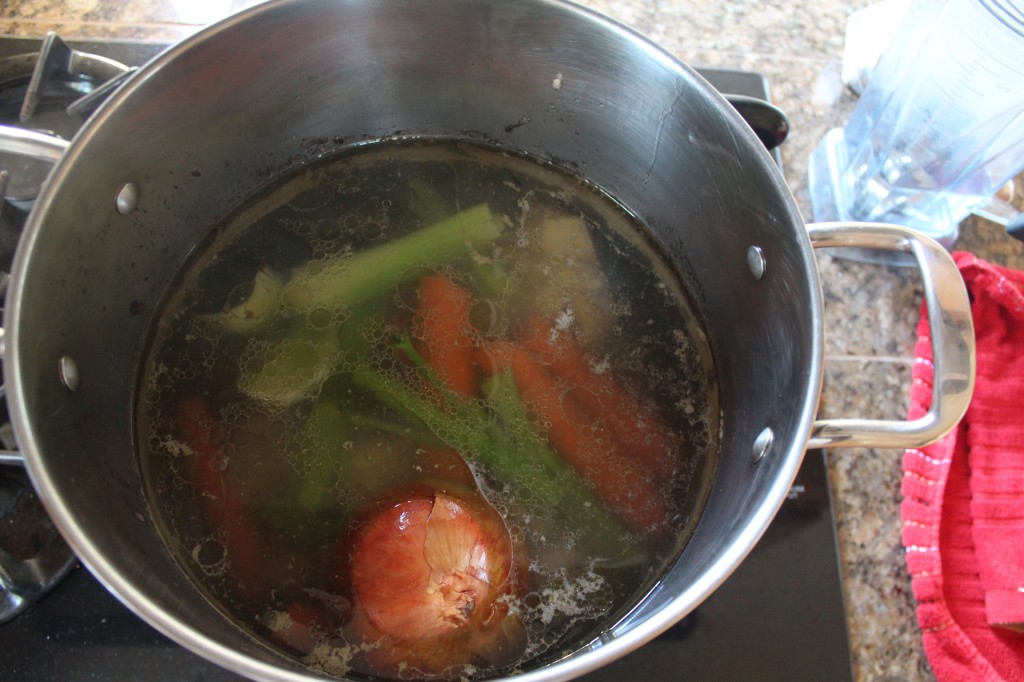
Add a large WHOLE organic onion WITH THE SKIN. Make sure it’s organic!! This is super important since we are leaving the skin on. Break 3 large carrots in half and plop ’em in the pot. Do the same with 3 stalks of celery. If you have any other vegetable scraps you wish to add, you can add those, too. Adding parsley is also good.
Step 5:
Reduce heat and cover. You want to keep your pot on LOW or the lowest setting possible where it is still bubbling a little bit, but not boiling. A slow simmer.
Step 6:
Walk away for anywhere between 24-72 hours. (I’m serious, Mom! It’s okay! I literally just leave it on the stove for 3-5 days. Don’t worry about it!)
Step 7:
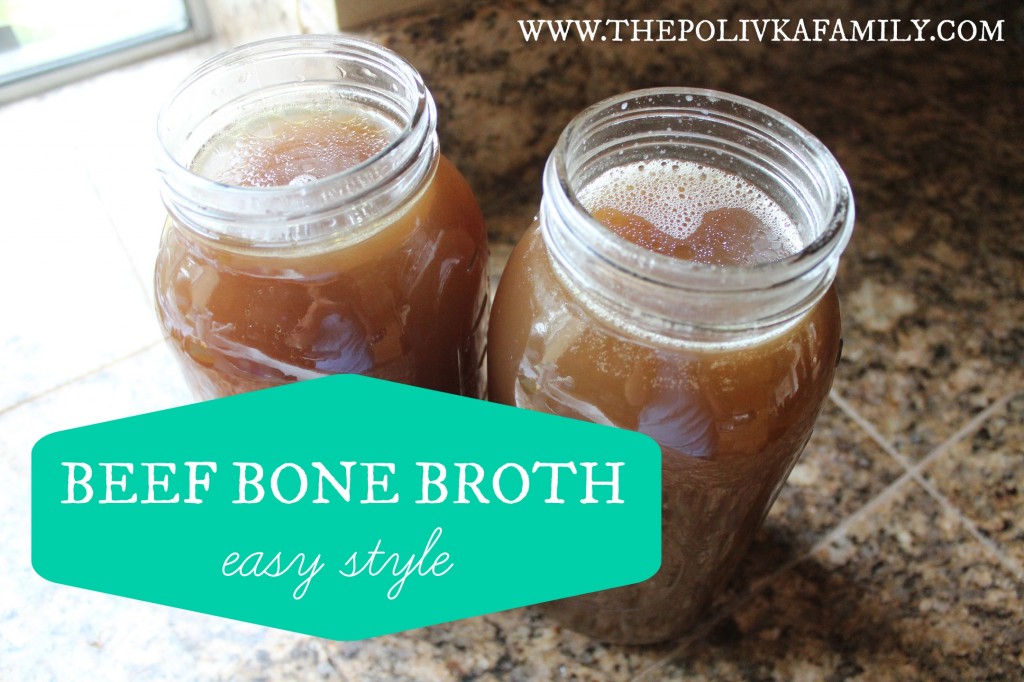
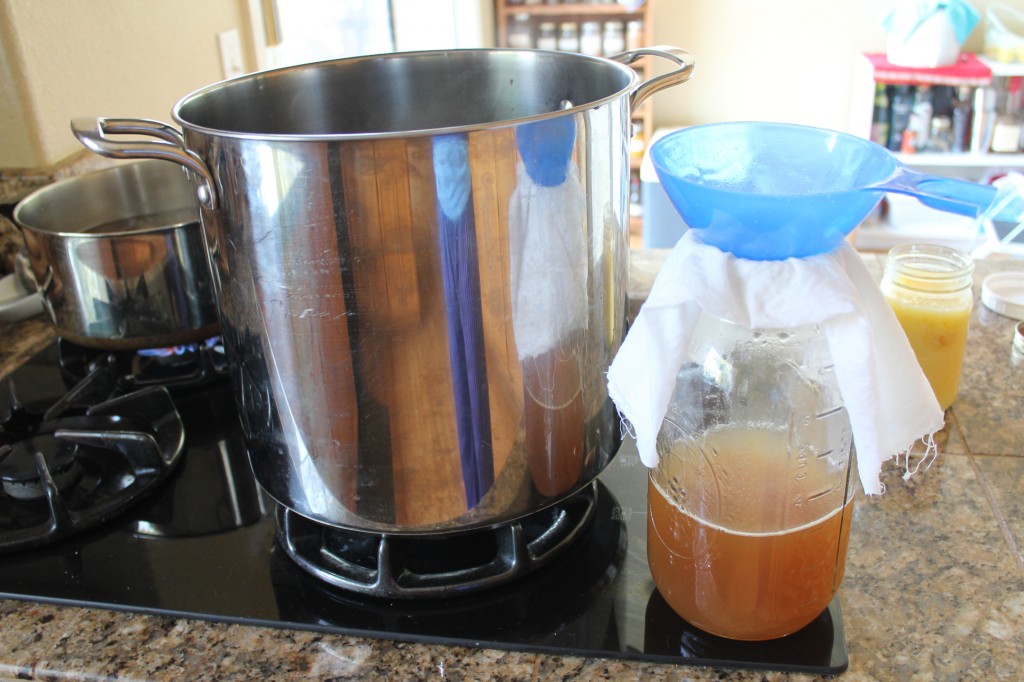
Every day (for 3-5 days), I remove between 2-4 quarts of broth. I use a ladle, a canning funnel, and cloth to filter the broth into half gallon mason jars. For every quart I remove, I add back another quart of filtered water, and then I let that go for another 24 hours (at least). It’s not an exact science. I don’t use a timer.
Step 8:
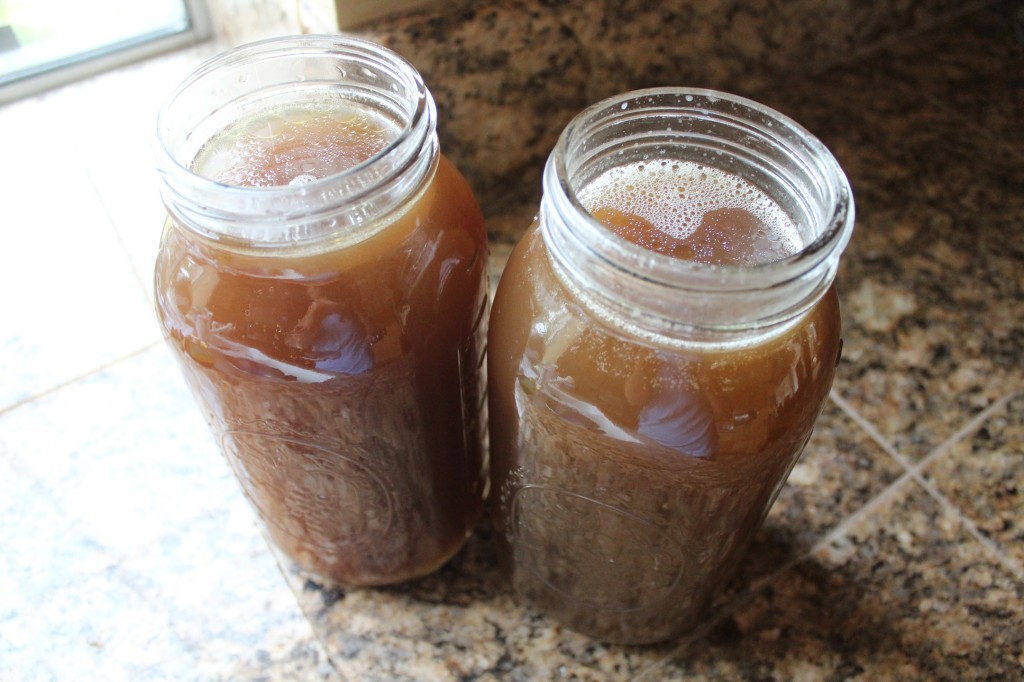
Refrigerate the broth or let set out on the counter until it cools. Now, you have a few options!
#1 – You can keep the broth in your fridge for a week and use it in soups and stews and things.
#2 – You can downpour the broth into freezer bags, label them with the date and contents, and throw them in your freezer for later use. I like using plastic freezer bags because I can cut the bag off from around the frozen hunk of broth and just throw it into a pot.
#3 – You can use a pressure canner to store the broth for later.
#4 – You can pour the broth back into a stock pot and boil it until it reduces in volume. This creates a broth concentrate, which takes less space to store. Just remember to add water back to your broth when you use it in recipes.
#5 – You can reduce it even further, until it becomes VERY dark and syrupy. Pour this syrup onto dehydrating sheets, and dehydrate until it becomes hard like resin. Grind the resin in a food processor, and voila! You have instant broth for breakfast on the go!



Thanks for sharing. I ‘d really like to try this at home but I haven’t had much time. I’m drinking Au Bon Broth and it’s surprisingly tasty and delicious.
Just wondering why you leave the peel on the onion and what would be the harm if one didn’t? Thanks for the post, trying to help out my Mom’s failing hips without all the pain meds the doc wants her to be on :)
I leave the peel on for a richer, darker colored broth. That’s all. :)
I’m finally going to do this! SO! EXCITED! I did overpay for my bones at Whole Foods, but whatever, live and learn. They are frozen and appear to have a lot of marrow in them, do I leave the marrow in the whole time? Should they be thawed or roasted? Tips please? :D I read to remove the marrow early and eat/store it, but this is my first time even dealing with bone marrow so I want to ask around.
If I’m using only marrow bones, then I don’t thaw them first. I let them sit in cold water with vinegar for an hour as they thaw. If you have meaty bones, then roast them first. I always leave the marrow in because I keep my broth going for up to a week! And it eventually dissolves into the liquid. :)
Alright, great, thanks for the response! :D
I freeze mine in quart and pint bags for use in soups, etc… Also freeze some in ice cube trays, then empty into gallon bags to have handy for adding to vegetables for flavor! Three cubes seasons a quart of green beans nicely!
you can concentrate it and pressure can it in jars…I get a gallon of broth down to a pint jar and can them. I use the crock pot to simmer it down. It is like a thick goo, a scoop in the water to cook rice, grits, noodles, soup, anything…mmmmmnomnom!! Keep the open jar in the frige to dispense out of…it won’t be there long! Awesome out of deer leg bones and chicken feet!
We have VERY limited refrigerator and freezer space and I was wondering how to do the “instant powder” option. How much powder do you think you would get out of a quart of regular-strength broth? (I can use that to reverse engineer how much powder to add to water to get my quart back.
I’m not sure how much powder you would get out of a quart. Probably not a lot. I’d dehydrate starting with a gallon, at least, which should then fit into a pint jar. :)
This is a great tutorial! I wonder if you could pressure can it to use later? We have done this before with turkey stock and it worked out great! doing so with beef broth would be amazing, we just haven’t gone there yet ;-) However, there is a new butcher shop opening up in town and I am confident they will have some amazing (local, organic, grass fed, etc) bones for the taking/purchasing on the cheap/trading for work etc. Any tips, tricks or experiences you’ve had would be greatly appreciated :-)
Yes! I think you could very successfully pressure can it for later. :)