Canning is really easy and a great way to save extra harvest for the winter or off-season.
As I mentioned in my easy peasy tomato paste post, one of my goals this year was to learn home canning. I put it off and put it off, but the cooler temperatures kicked my butt into gear, as I realized unless I learned to can THIS WEEK, we would have to resort to grocery store tomatoes! The grocery store tomatoes, (although organic) are completely tasteless and bland, not to mention, imported from Mexico! (Makes me wonder if they are really organic or if they are sprayed with pesticides going through customs. Hmmmm…)
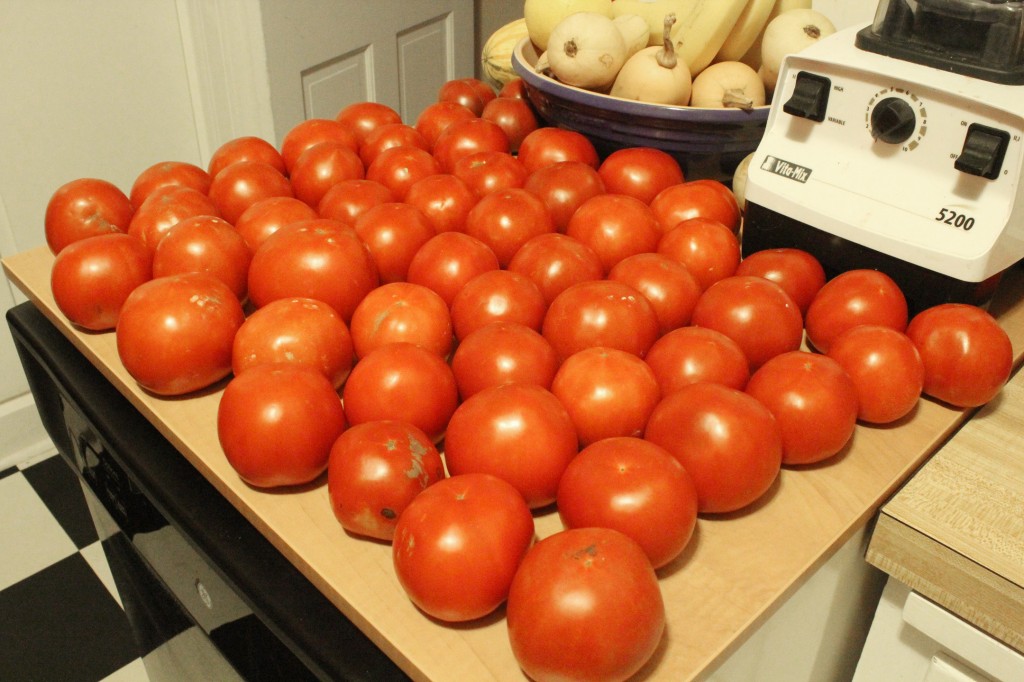
So this past week we bought 30+ pounds of tomatoes that we hope will last us through January or February. I’m hoping to get more this week if the plants are still producing. I’d rather be over prepared than underprepared. We got all these tomatoes for less than $1.00/lb! The organic tomatoes in my grocery store are currently $4.69/lb. I can only imagine the price will go up in the winter!
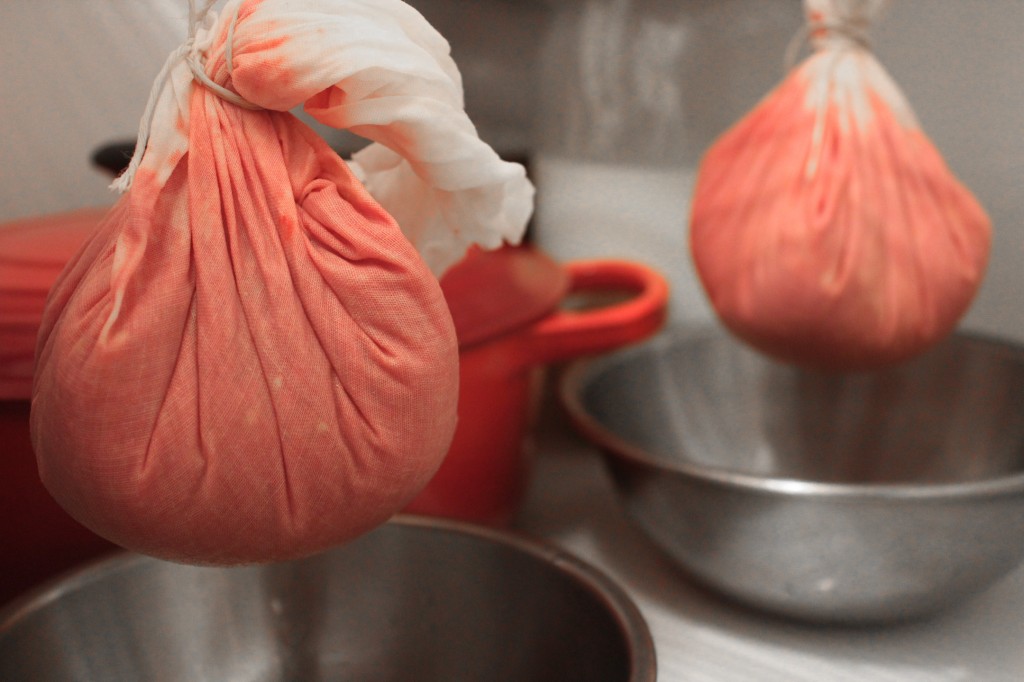
I made more tomato paste with 15 medium sized tomatoes, and I had around 50 or so left to can.
How to can whole tomatoes in their own juice
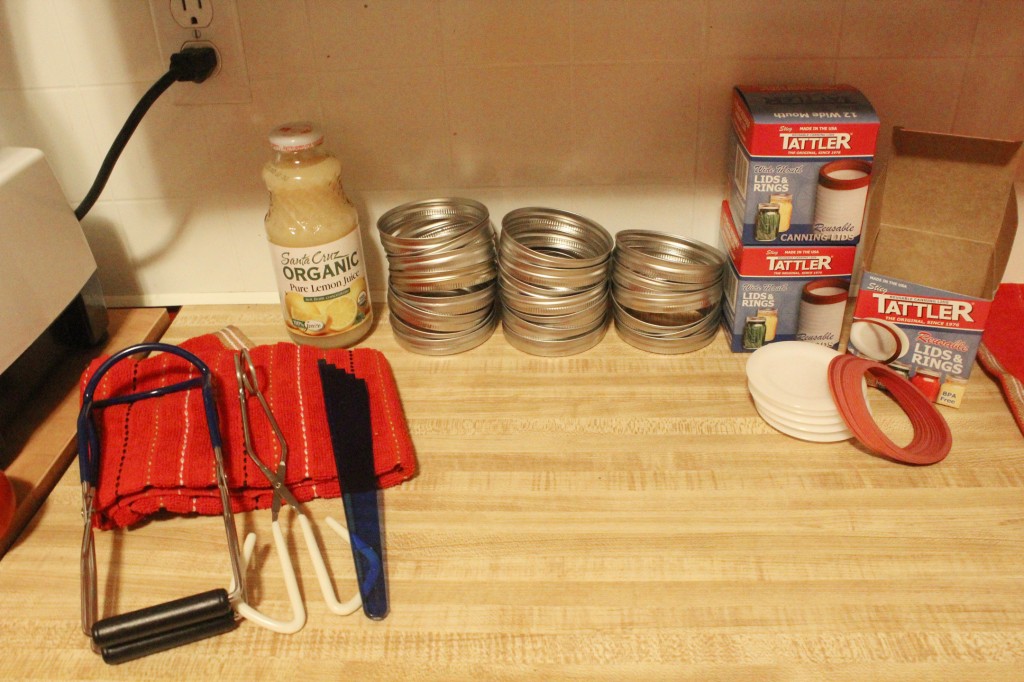
You will need:
- Pure organic lemon juice
- Quart mason jars
- Tattler lids and rubber rings (I used Tattler reuseable plastic lids and rings because they are BPA-free, unlike the metal Ball canning lids.)
- Jar lifter
- Headspace measure/bubble remover tool
- Large bowl of cold water
On my stove, I had pots on all four burners with simmering water:
- Front large burner: water-bath canner with simmering water
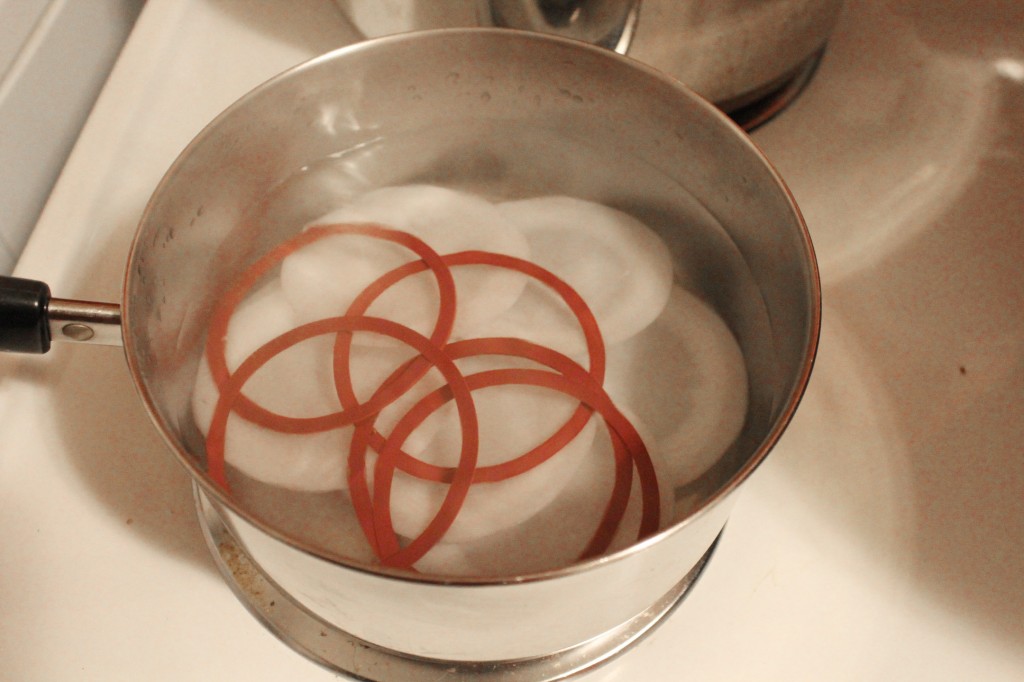
- Front small burner: 2 quart pot with simmering water for my lids and rubber rings
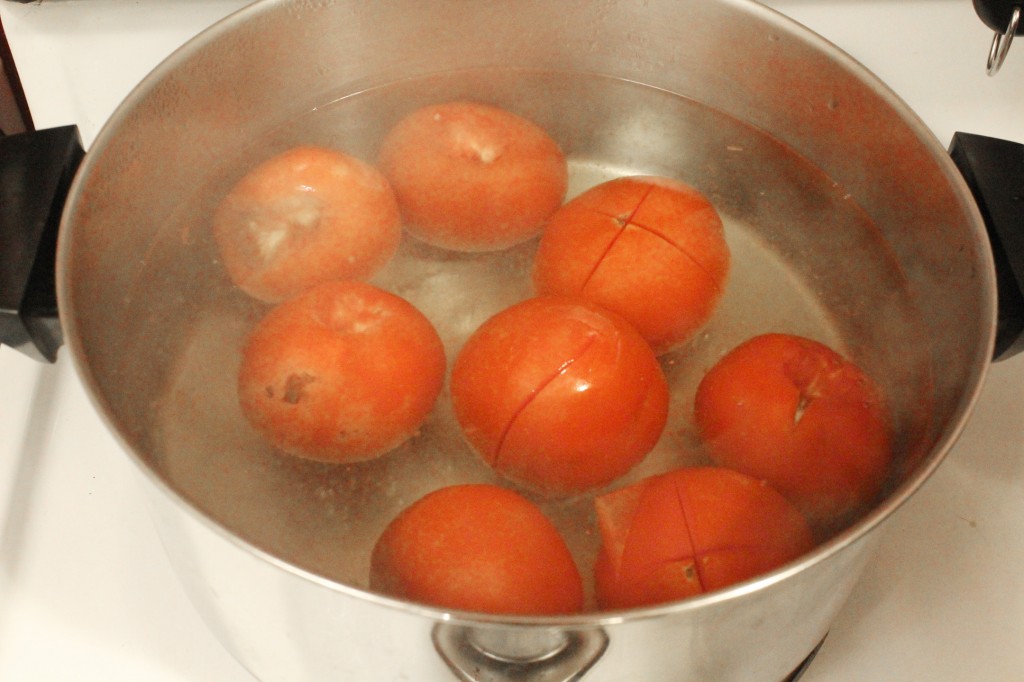
- Back large burner: 6 quart pot with simmer water to blanch tomatoes
- Back small burner: 4 quart pot with extra simmering water to make sure the canner is full after adding jars
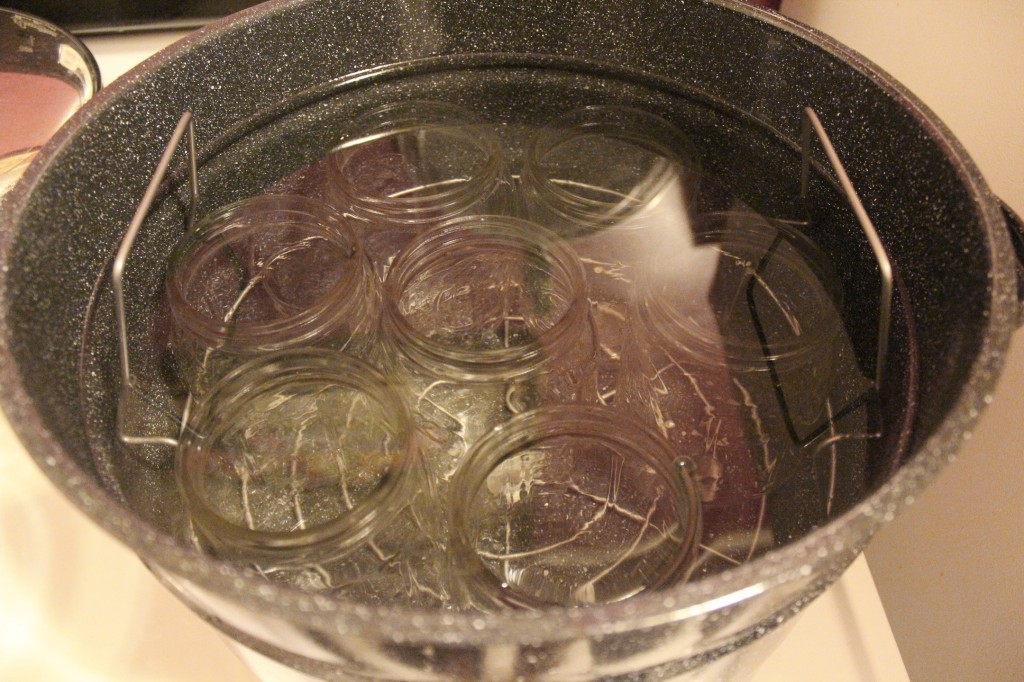
Start all your water boiling, and then bring them down to nice simmers. Put your jars in the canner to sanitize them while you’re preparing the tomatoes.
Put lids and rings in the small pot to simmer on low to sanitize them, as well.
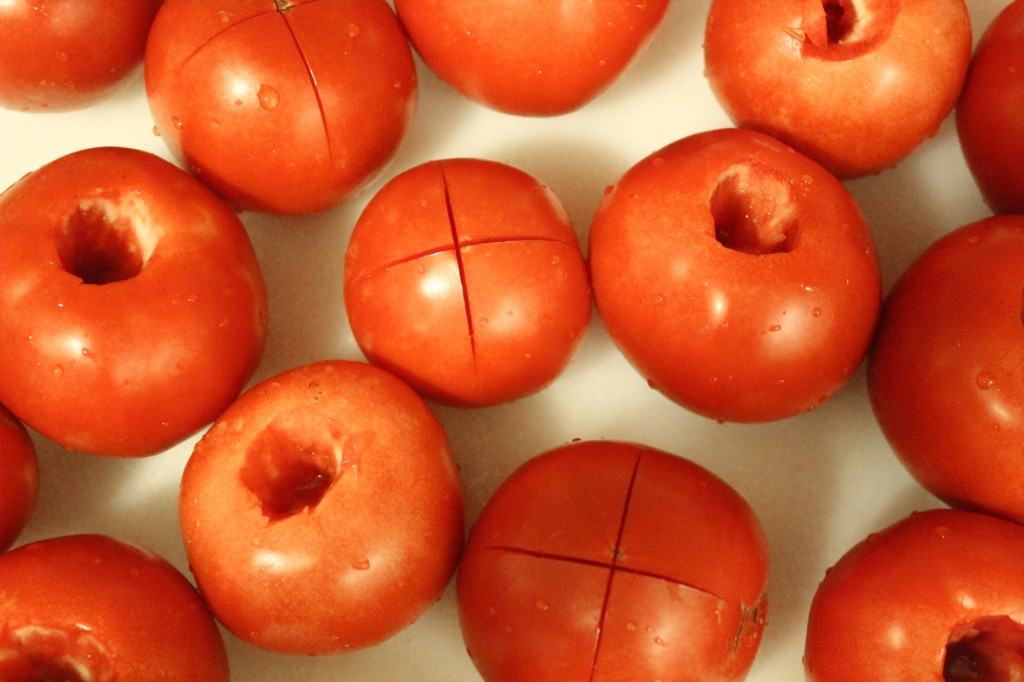
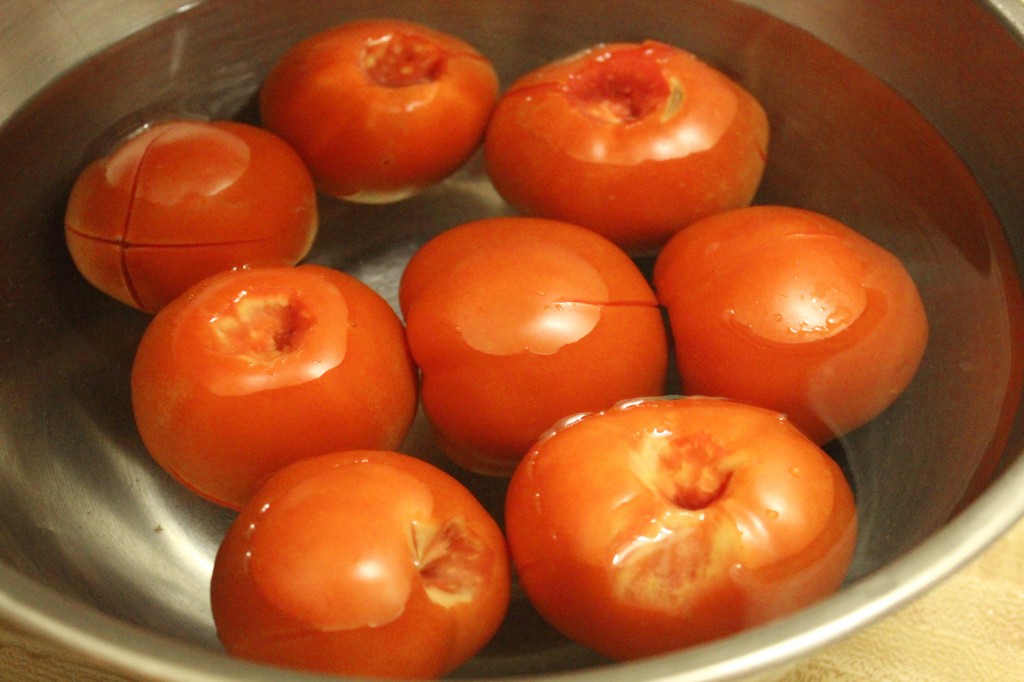
Wash dirt off your tomatoes. Core them, and cut tiny X’s onto the bottoms.
Blanch the prepared tomatoes for 20-30 seconds. Remove, and place into the cold water. The skins should rub off easily.
Fill the jars with the skinned tomatoes, pushing them down until the jars are full and the tomatoes release juices to fill the space. Don’t forget to acidify! Add 2 TBSP of pure lemon juice for quarts and 1 TBSP for pints. Use your headspace tool to make sure the lemon juice gets all in the tomatoes, and then use it to leave 1/2″ of headspace.
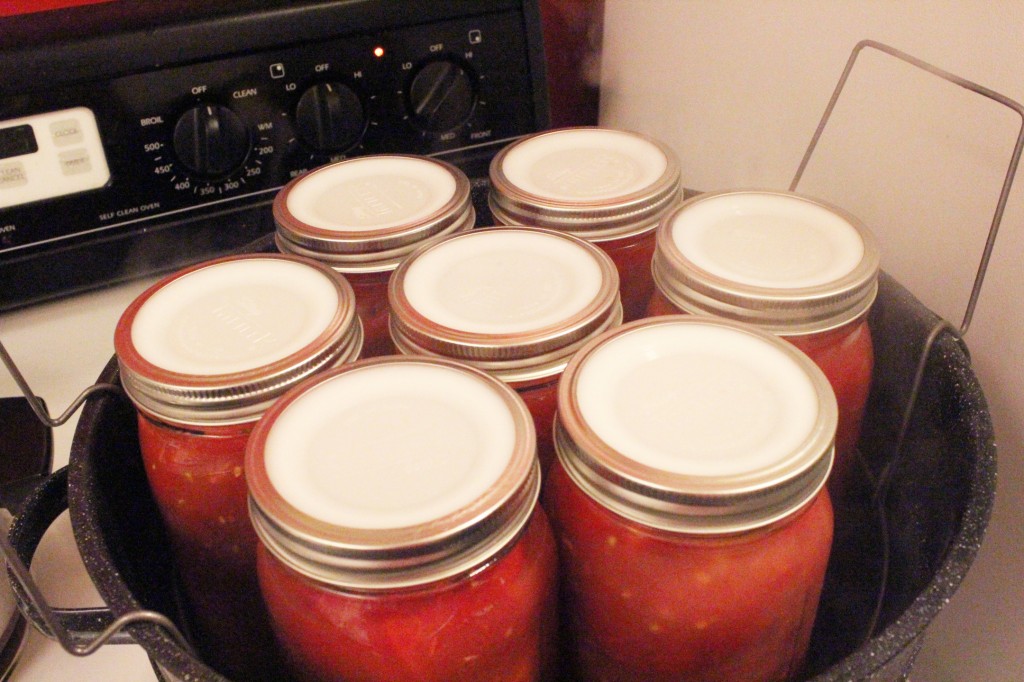
Wipe the rims of the jars with a clean cloth. This makes sure they get a good seal. Put on your lids and rings. Place a band over the lids and rings, and finger-tighten only. The jars need to be able to vent underwater.
Process jars in the water bath for 1 hour and 25 minutes. Water should be kept at a simmer and should cover the tops of the jars by 1-2″.
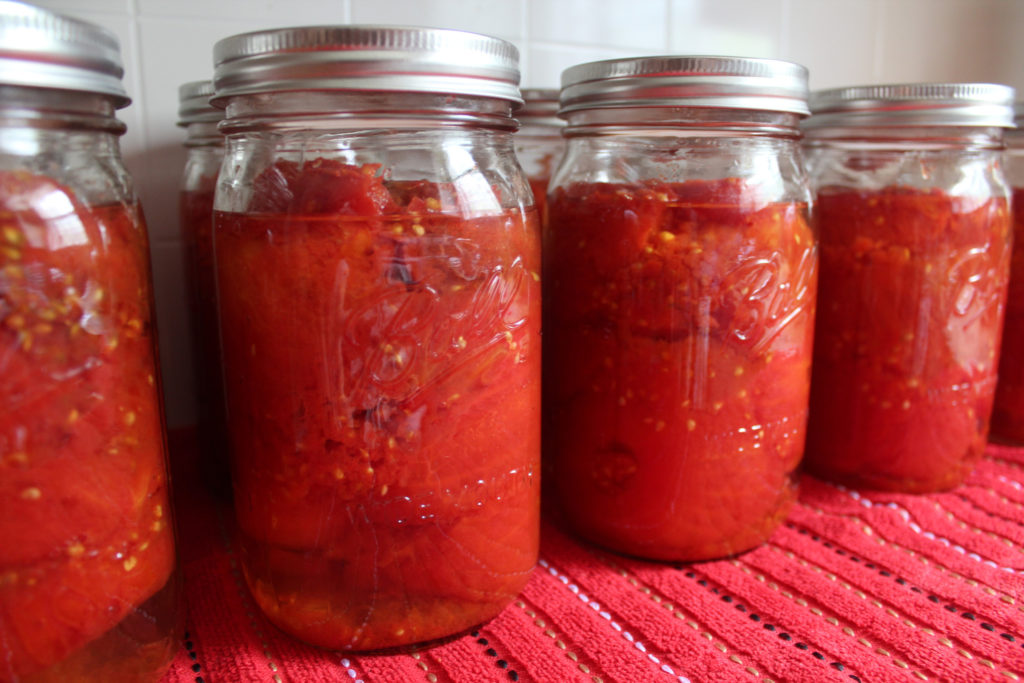
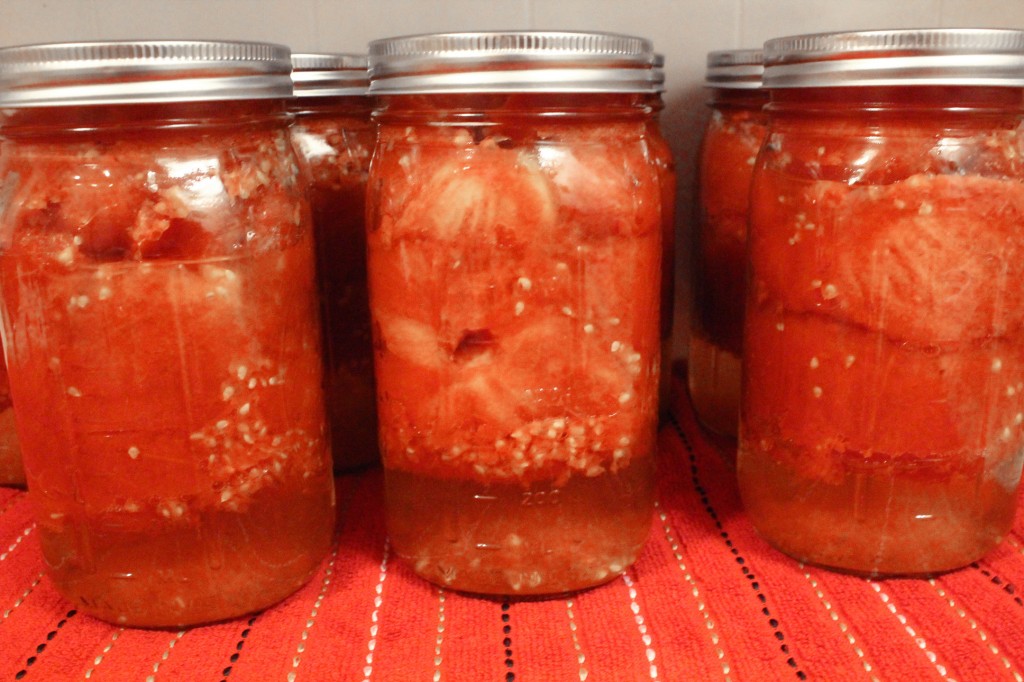
After processing, remove jars from canner and IMMEDIATELY TIGHTEN BANDS. You may have to use two towels to keep from burning yourself. The tomato solids may have separated from the juice, but this is normal, and it will settle.
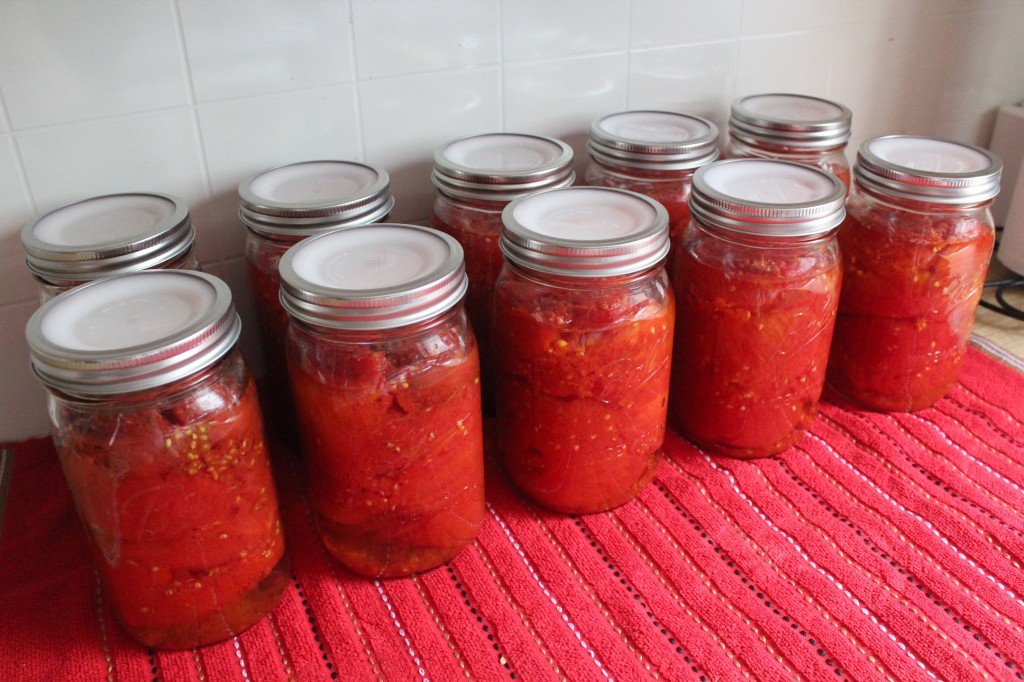
Let set for 24 hours and then check to see if the tops are sealed. The lids should not be able to lift off, and they do actually “suction” down considerably. Any jar that is not sealed can be reprocessed if caught within 24 hours.



What are the rings and lids you use?
I use this brand HERE.
This is such a great introduction to canning! I’ve never canned before, and was put off by the special tools and equipment needed. But I have almost everything you use here (except for the headspace tool, rings, and canner pot thingy). I am going to try to find those tools and give this a try!
Frank and I had a ball! We ended up canning 5 quarts of apples a few days later! :)